
- Download and install the software.
- It will scan your computer for problems.
- The tool will then fix the issues that were found.
This error appears when you install an application or a feature update. In some cases, it might also show up during the installation process. You can fix this issue by checking the following things:
1. Make sure that you are running Microsoft Security Essentials antivirus program.
2. Try uninstalling the application or feature update. Then reinstall it.
3. Run sfc /scannow command to scan your system for corrupted files.
4. Delete the.catroot2 folder on your computer.
5. Restart your PC.
6. Reinstall the operating system.
If none of the above methods work, contact us via our support form. We’ll do everything we can to help you.
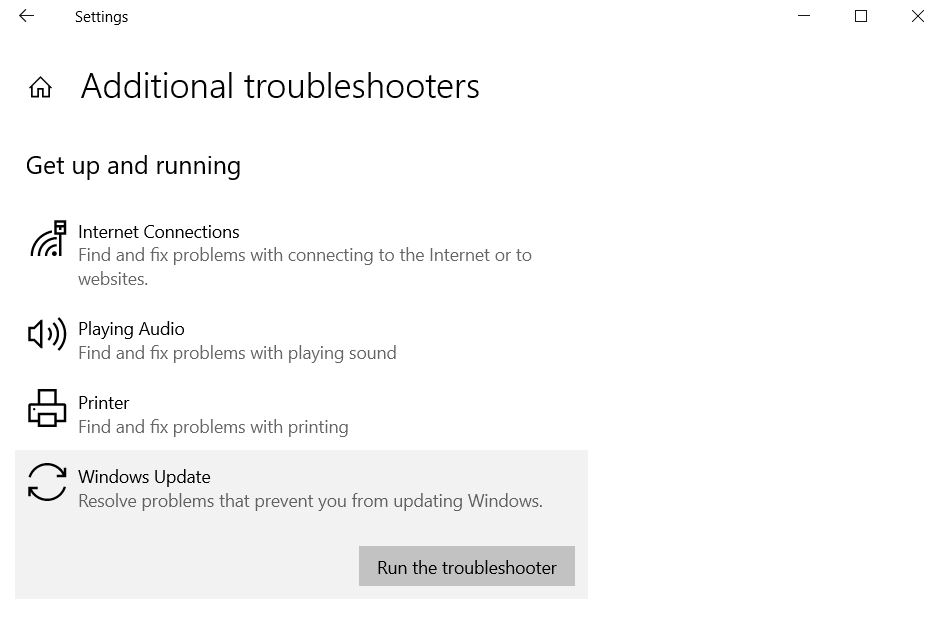
1. Run the Windows Update Troubleshooter.
The Windows Update Troubleshooterset up to date automatically and fixes many issues without requiring manual intervention. You can run it manually if you want to troubleshoot specific problems yourself.
1. Check the Event Viewer for error messages.
2. Restart your computer.
3. If none of those work, contact Microsoft Customer Support.
2. Reset Windows Update Components.
Windows 10 users are reporting that the Windows Update component is causing errors such as “0x00000001”. This issue occurs due to incorrect settings in the Windows Update component. For example, it could happen because you changed the language setting during installation. In this case, you must change the language setting again to English. If you want to know how to fix this problem, read our article here.
3. Scan for SFC and DISM.
Microsoft Security Essentials is one of the best free antivirus programs out there. However, it does require some maintenance and regular scans to keep it running smoothly. Microsoft offers a tool called System File Checker to help you do just that. This utility checks for problems with system files and repairs them automatically. You can run this tool manually or schedule it to check for errors regularly.
To use this tool, download and install the program from here. Once installed, launch it and select Scan Now. A window will open where you can choose whether to perform a quick scan or a full system scan. Select Quick Scan and let the process continue. When finished, you’ll see a report detailing what issues were found. If necessary, you can resolve those issues now or later.
If you want to go further, you can download and run Disk Cleanup. This tool removes temporary files, caches, cookies, history, and Internet Explorer browsing data. To access it, simply type “disk cleanup” into the Start menu Search box and select Disk Cleanup from the list of results. Click OK to begin the process.
You can also use Windows Update to fix the problem. First, make sure you’re signed in to your account. Scroll down to find the option labeled Roll Back Driver Software. Click it to view a list of drivers that are outdated. Choose the driver that needs updating and follow the instructions.
For additional information about how to maintain your PC, please refer to our Knowledge Base article titled “How to Keep Your Computer Running Smoothly”.
Updated: June 2025
We highly recommend that you use this tool for your error. Furthermore, this tool detects and removes common computer errors, protects you from loss of files, malware, and hardware failures, and optimizes your device for maximum performance. This software will help you fix your PC problems and prevent others from happening again:
- Step 1 : Install PC Repair & Optimizer Tool (Windows 11, 10, 8, 7, XP, Vista).
- Step 2 : Click Start Scan to find out what issues are causing PC problems.
- Step 3 : Click on Repair All to correct all issues.

4. Manually Update PC.
Microsoft has released a new update for Windows 10 that includes fixes for several security vulnerabilities. If you are running Windows 10, it is recommended that you download and install the patch immediately.
To manually update your machine, follow these steps:
1. Click “Check now for updates”.
2. You’ll see a list of available updates. Select the option to “Download and Install Updates”.
3. Once the update is finished downloading, restart your computer.
4. Follow the instructions on screen to complete the installation process.
If you don’t want to wait for automatic updates, you can always do it yourself.
5. Set the Location of the Index to the Default Path.
Users should always backup their files. If you are planning on upgrading your hard drives or adding storage space, it’s important that you do so before proceeding. Backing up your data ensures that you don’t lose anything during the process. You should also make sure that you use a reliable cloud storage provider like Amazon S3 because they offer robust security features.
To avoid issues, users should check the Index location setting. This option allows you to choose where your index file is stored. By default, the Index location is set to the root folder of your site. Click on the Index location tab and select another path.
6. Uninstall the Conflicting Applications.
If you are having trouble installing a program, it could be because another program is causing problems. To fix this problem, we recommend that you uninstall one of the programs that is conflicting with the installation process.
To find out what is causing the conflict, open Task Manager (by pressing Ctrl+Shift+Esc), select Processes tab, and sort by Name (A). If there are multiple processes named “Kaspersky Security Network Client”, select the largest one and press End task. Then restart the computer and try again.
You can use the same method to remove any other application that causes a similar error code.
7. Remove Unknown User Profiles from the System Properties.
There are many reasons why an update fails. One reason might be that there are too many unknown user accounts on your system. If you delete those accounts, it might fix the problem.
To find out how many unknown user accounts exist on your computer, open Windows Explorer and type %SystemDrive%\Users into the address bar. You should see a list of all the user accounts on your PC. Click on each account name to view the properties of that user profile. Then, select the Account tab and look under the General section. This will show you how many times the user has logged on since the computer was installed.
If you notice a lot of unknown user accounts, you can simply delete them. To do this, follow these steps:
1. Open Windows Explorer.
2. Type %SystemDrive%\ Users into the address bar.
3. Select one of the user names and press Enter.
4. Right-click on the selected user name and choose Delete.
8. Modify Windows Registry.
The Windows Registry is a database used to store information about programs installed on your system. This data includes everything from settings to program shortcuts. While it stores important information, it can become cluttered over time. If you are having trouble remembering where you put something, there is a good chance that you have deleted some of the files stored within the registry. You can use the following steps to delete unwanted entries from the registry.
1. Start up Windows Explorer.
2. Select the View tab.
3. Uncheck “Hide extensions for known file types”.
4. Press OK.
5. In the left pane, select HKEY_LOCAL_MACHINE\SOFTWARE\Microsoft\Windows NT\CurrentVersion.
9. Try Using CleanMyPC.
Running Sfc and Dism commands wasn’t working for me, so I thought about trying another method. I went into my registry editor and ran the following command: sfc /scannow. This worked perfectly and fixed everything.
CleanMyPC is a great program that can help you clean out junk files from your computer. You can download it here.
Try running a PC cleaner before you do anything else. I’m sure there are plenty of programs out there that can help you clean things up.
I hope this helps someone out there. If you want to see some of my favorite tools, check out my video playlist.
For more information, please subscribe and hit the notification bell so you never miss an upload. Thanks!
10. In-place Upgrade.
– We’ve been hearing about it since Windows Vista, but now Microsoft is finally bringing this feature to Windows 10.
– With Windows 10 S, Microsoft is offering a way for schools and businesses to deploy Windows 10 without having to buy new computers.
– But what does this mean for consumers?
– Well, you’ll still be able to upgrade to Windows 10 Pro, but you won’t be able to do it in place.
– Instead, you’ll have to purchase a copy of Windows 10 Home or Windows 10 Professional separately.
– And if you want to keep your existing apps and data, you’ll have to make sure you back up everything before upgrading.
– So why did Microsoft decide to bring this feature to Windows 10 S?
RECOMMENATION: Click here for help with Windows errors.
Frequently Asked Questions
Will putting on updates slow down my computer?
No, updates are meant to make your computer faster and better able to handle new programs and features. They also fix bugs in software that already exists.
Why Should I Install Windows Updates?
If you don’t keep your computer up to date, viruses could be hiding in your system, waiting for a chance to attack. Your operating system may ask you to download security patches when you install new software or update existing programs. These patches are made to keep bad code from getting on your PC.