- Download and install the software.
- It will scan your computer for problems.
- The tool will then fix the issues that were found.
This error occurs due to an invalid transaction closure. When you run Windows Update, it tries to download and install patches for your operating system. If the download fails because of an issue such as a network connection failure, it will mark the update as failed and won’t allow you to complete the installation. You’ll see the error code 0x8007371B in Windows Event Viewer.
To fix this error, follow these steps:
1. Restart the computer to ensure that the latest drivers are installed.
2. Try installing the update again.
3. Download a repair tool from Microsoft.
4. Run sfc/scannow to check if there are missing or corrupted files on your PC.
5. Contact Microsoft Customer Support.
1. Use the Windows Update Troubleshooter.
If you’re having trouble updating Windows 10, here’s what you need to do. First, make sure that you’ve got the latest version of Windows 10 installed. If you don’t know how to check whether you have the latest version, see our guide. Then run the Windows Update Troubleshopper.
The Windows Update Troubleshopping tool scans your computer for problems. When it finds one, it offers solutions. You just need to choose one of those options.
You might want to take a look at our guide to see if you have any other issues. We explain everything you need to know about installing Windows 10.
2. Use the DISM and SFC Commands
Windows 10 includes several built-in recovery options that you can use to recover data lost due to hardware failure, virus attack, accidental deletion, etc. If you want to restore your system to a previous state, you can use one of those features. However, there are some situations where it’s better to use third party software to perform the same task. One such situation is when you’re trying to repair corrupt files. In this case, you might find that the built-in tools don’t work properly. This article explains how to use the DISM and SFS commands to repair and fix common errors related to Windows 10.
How to use the Command Prompt to run DISM
To run DISM using the Command Prompt, type cmd into the Windows Start menu Search bar and select “Run As Administrator.”
In the Command Prompt window, enter the following commands:
Dism /Online /CleanupImage /ScanHealth
Dism /Online/CleanUpThe HealthAnd CheckHealth
Dism / Online / RestoreHealthAnd Press Enter
Updated: June 2025
We highly recommend that you use this tool for your error. Furthermore, this tool detects and removes common computer errors, protects you from loss of files, malware, and hardware failures, and optimizes your device for maximum performance. This software will help you fix your PC problems and prevent others from happening again:
- Step 1 : Install PC Repair & Optimizer Tool (Windows 11, 10, 8, 7, XP, Vista).
- Step 2 : Click Start Scan to find out what issues are causing PC problems.
- Step 3 : Click on Repair All to correct all issues.

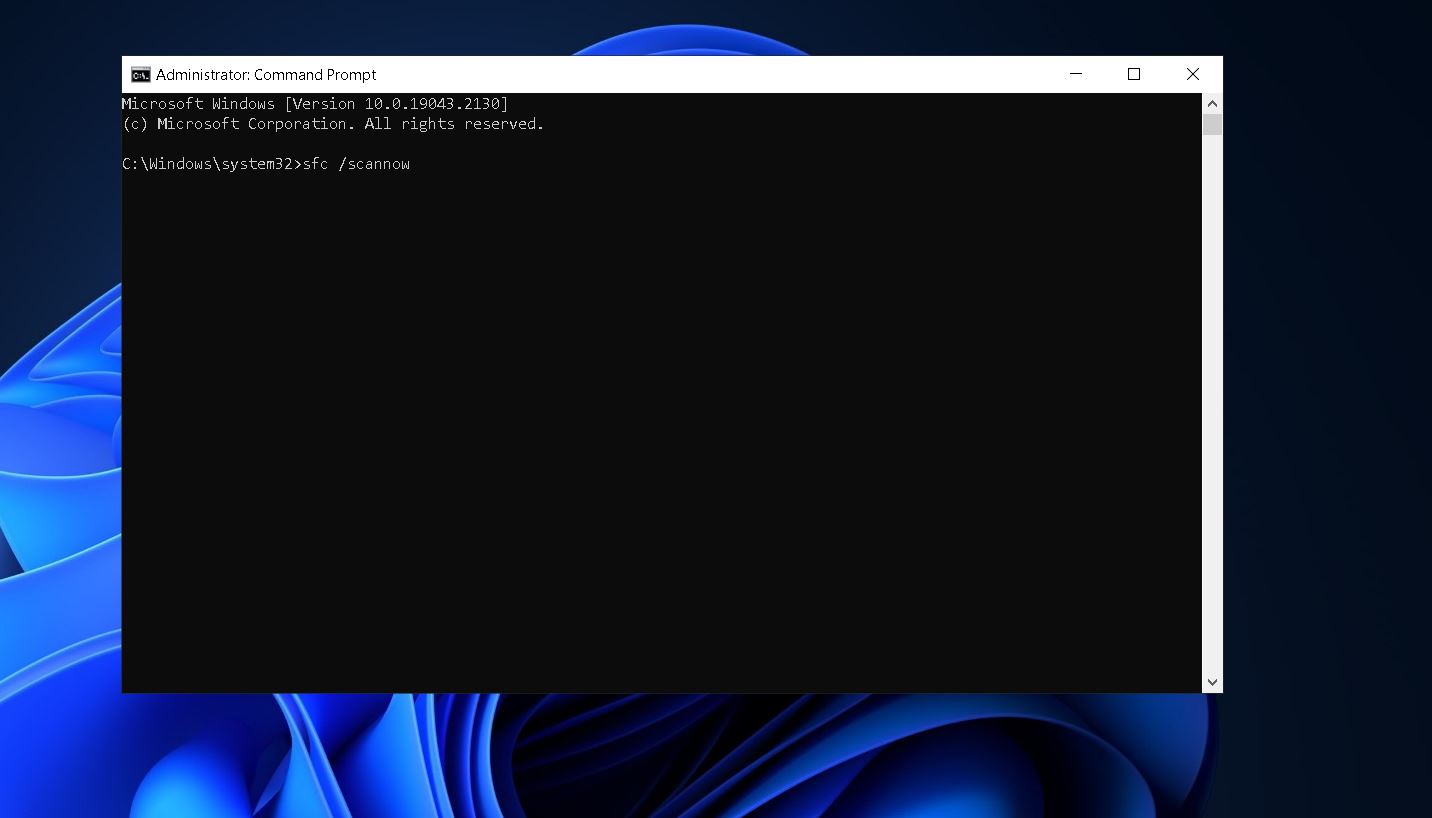
How to use the Command Prompt to run SFC
Type “command prompt“ into the Start menu Search box and select “Command Prompt”. Open the command prompt as administrator. Type “fsutil scannow” and press Enter. Reboot after scanning is complete.
3. Clean the Windows Update Cache.
Delete the contents of the Windows update cache folder. This will help clean up any old updates that might cause issues. Then reboot your computer.
4. Restart the Windows Update Agent
Windows 10 is notorious for having problems updating itself. If you’ve ever tried to update it and had issues, you know what I’m talking about. You’ll see messages like “The Windows Update agent could not be updated because some required file(s) are missing.” This happens because there are multiple components involved in Windows’ automatic updating system, and one of those components isn’t working properly.
If you’re seeing this error, here’s how to fix it. First, make sure you’re running Windows 10 version 1903 or later. Then open up a command prompt window as an Administrator and type in the following commands:
net stop wuauserv
wusa /uninstall
wusa /cleanuplevel0
wusa /resetlog
wusa /startupdatecheck
That’s it! Now restart your computer and try again. Hopefully, you won’t have to do this anymore.
5. Remove Third-Party Antivirus Software
Third-party antivirus software isn’t necessary for most people, but it does provide some benefits. For example, it might detect malware faster than Microsoft Security Essentials, and it provides additional protection against known threats. However, there are drawbacks to having multiple antivirus applications installed. First, each one takes up space on your computer, and that space could be used for something else. Second, if you’re running multiple antiviruses, you’ll probably miss important notifications about viruses and other problems.
If you do want to use third-party antivirus software, make sure you uninstall it properly. You don’t want to accidentally delete files or change settings. To completely remove the program, follow these steps:
1. In the Search box, type “Control Panel.” If you’re prompted to sign in, enter your username and password, then select OK.
2. Select Programs & Features under Hardware and Sound.
3. Right-click the name of the antivirus app you want to uninstall, and select Delete. Follow the instructions displayed.
4. When you’ve removed the application, restart your PC to ensure it’s fully uninstalled.
RECOMMENATION: Click here for help with Windows errors.
Frequently Asked Questions
How can I do more with Windows 7?
If you’re running Windows 7 Professional, Ultimate, Home Premium, Enterprise, Education, or Server 2008 R2, here are some things you might want to try.
1. Make sure that your antivirus program is up to date. If it isn’t, update it now.
2. Run Disk Cleanup. This tool wipes out temporary files and unneeded registry entries. You’ll probably find that it takes less than 10 minutes to run.
3. Use the Microsoft Fixit tool. This tool lets you scan your PC for issues and fixes them automatically.
4. Download and install the latest version of Internet Explorer. IE 11 is the current browser for Windows 8.1 and Windows 10. If you don’t already have it installed, download it from Microsoft’s site.
5. Install the latest version of Adobe Flash Player. Flash Player is required for many online games, videos, and animations. To make sure you’ve got the latest version, go to Adobe’s site and check for updates.
6. Disable automatic updating. Automatic updating is enabled by default in Windows 7. While it does keep your computer safe from malware, it can cause problems like slow performance and crashes. Turn off automatic updating in the Control Panel.
What to do after Windows 8?
Windows 8 introduced many changes such as the Metro UI, the Start menu, etc., but there are some things that remain unchanged. One of those things is the Command Prompt window. You can use it to install applications, run batch files, delete folders, and much more. In fact, it’s one of the most powerful tools in Windows. Let’s see how we can use it.
To open the command prompt, press Win+R keys together. This opens the Run dialog box where you can enter cmd.exe. Once inside the command prompt, type the following command to list the current directories: dir /a/d C:\
You will notice that there are several subdirectories listed under the root directory. These are the default locations used by Windows to store data. Now that you know what each of the subfolders represent, let’s try something else. This command lists the attributes associated with the file/folder. Attributes are metadata about the file/folder. They include information like the size, date modified, permissions, ownership, etc. Here, we just wanted to show you that the Desktop folder contains the icon of the desktop itself. Now, let’s say you want to delete the entire Desktop folder. To do so, simply type del d:\desktop\. Note that the space after the slash is important.
If you want to delete multiple files and folders, you can combine the two commands into one. For example, to delete both the Desktop folder and the Pictures folder, you would type the following command: del d:\desktop\pictures\ -recurse -force.
The -recurse switch tells the command to look for all subfolders within the specified folder. The -force switch makes sure that even hidden files and folders are deleted.