- Download and install the software.
- It will scan your computer for problems.
- The tool will then fix the issues that were found.
The error code 8024402f occurs due to an issue within the Windows Update Service. This article explains how to resolve it.
You can run the command prompt as an administrator and type “net stop wuauserver”. Then you can type “wusa /uninstall/kb:8024402F”. Press ENTER to complete uninstallation.
Fix Windows Update Error 8024402F
The error code 8024402f indicates that there is an issue during the installation of Windows 10. This could mean that your computer does not meet certain requirements needed to install Windows 10. In some cases, you might even receive a blue screen of death while installing Windows 10. To resolve this problem, download the latest version of Windows.
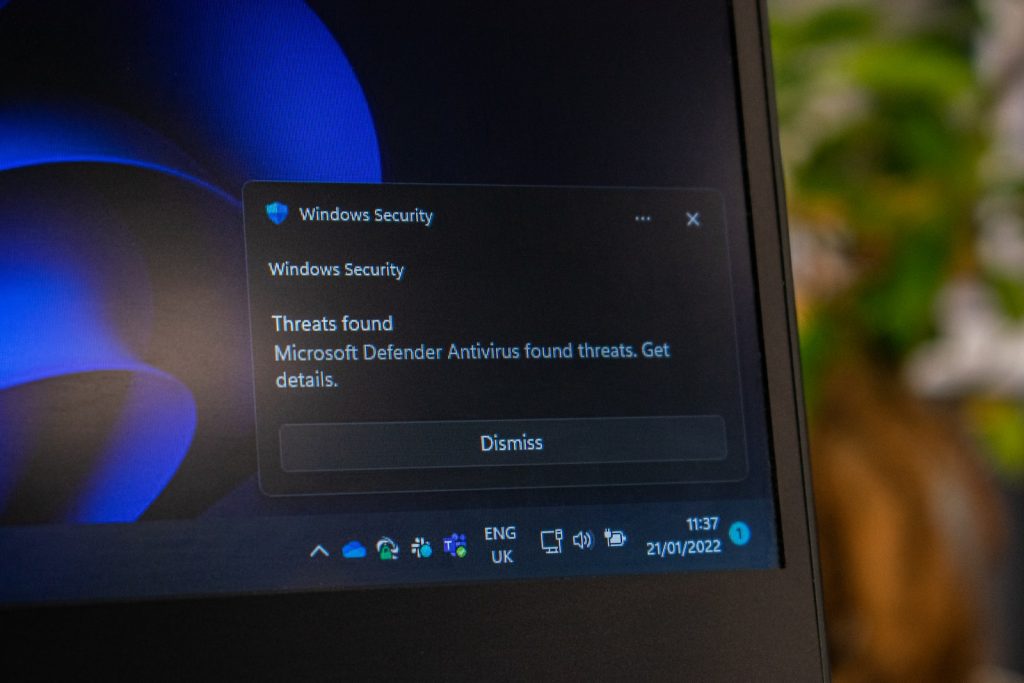
Method 1: Turn off the antivirus and firewall for now
Sometimes the Antivirus program creates errors and disabling the Antibot temporarily helps to resolve the problem. If your PC is infected with malware, it might cause problems while accessing the Internet. You can disable the Antivirus temporarily to solve this issue. To do this, follow the steps mentioned below:
1. Open Control Panel.
2. Click Programs & Features.
3. Select Windows Defender, select Uninstall button.
4. A window will open where you can see the list of installed applications. Find out the name of the application and uninstall it.
5. Type regedit and press Enter.
6. In Registry Editor, go to HKEY_LOCAL_MACHINE\SOFTWARE\Microsoft\Windows NT\CurrentVersion\Winlogon\Shell.
Method 2: Update Windows Date/Time
To fix Windows Update error 80 24402f, follow these steps: Rightclick on the name
of the job and choose Properties. Then change the following properties : Change the schedule type to Manua l. Set the Start In option t o Af ter logon. Make sure that the Run whe n user is logged on or n ot box is unchecked. Check the box next to E enable autiomatic failur e recovery. Choose the act ion to run under the A ction tab. Under the Recovery options s ec tion, set the M aximum retries val ue to 0. Finally, click Ap ply and then OK.
Updated: July 2025
We highly recommend that you use this tool for your error. Furthermore, this tool detects and removes common computer errors, protects you from loss of files, malware, and hardware failures, and optimizes your device for maximum performance. This software will help you fix your PC problems and prevent others from happening again:
- Step 1 : Install PC Repair & Optimizer Tool (Windows 11, 10, 8, 7, XP, Vista).
- Step 2 : Click Start Scan to find out what issues are causing PC problems.
- Step 3 : Click on Repair All to correct all issues.

Method 3: Check Update Logs
Windows 10 is one of the most popular operating systems out there. However, it does come with some issues. One of those problems is that many users cannot update to the latest version because of a bug. Microsoft has addressed this problem with a few solutions. If you’re experiencing similar issues, here’s how to check your logs and find out why.
1. Start up your computer. You’ll want to do this while logged into your account.
2. This will open your system information window. Scroll down to “Update history.” Look for any entries under the heading “Installed Updates.”
3. Click on the entry that says “KBxxxxxxx,” where KB stands for “Kernel Base.” This will take you to a list of updates installed. There might be multiple updates listed.
4. Find the update that corresponds to the date/time that you noticed the problem. For example, if you see something like “KB2919355 – Security Update for.NET Framework 4.6.1 on xxx-yyy-zzz, dated April 13, 2016,” look for the number 2919355.
5. Enter the product key that came with your PC. Then hit Search. If you don’t remember the product key, just enter 0000.
6. When you’ve found the correct update, scroll down to “Details” and read the description. This will tell you exactly what went wrong.
Method 4: Make sure Windows Update Services is running.
Make sure Windows Update Services ( WUS ) are running. If you’re having trouble getting Windows 10 to update, it could be because WUS isn’t working properly. To fix this problem, follow these steps:
1. Click Start, type windowsupdate into the Search box, and press Enter. 2. In the left pane, select Check for Updates. 3. Wait while Windows checks for updates. When finished, restart your PC.
4. Restart your PC again.
6. If there aren’t any updates available, try installing KB3035583. 8. If you still don’t see any updates available, uninstall KB3035583. 9. Finally, reboot your PC one final time.
10. Follow the prompts to troubleshoot any issues you might encounter. 12. Reboot your PC once more. 13. Try updating again. 14. If you still haven’t seen any updates available, try uninstalling KB3035583. 15. Reboot your PC
Method 5: Run System File Checker and DISM Tool
Microsoft Windows 7/8/10 64bit – Method 5: Run System File.
1. Open Command Prompt window as administrator. 2. Type “dism /online /cleanup-image /restorehealth”. 3. Wait until it finishes. 4. Reboot computer. 5. After reboot, type “systeminfo | findstr /i “ntldr”” in command prompt. If you see something like “NTLDR missing”, then you are good to go. 6. You can now log into Windows normally.
Method 6: Use the Windows Update Troubleshooter tool.
If you’re having trouble installing Windows 10 updates, we’ve got a few tricks up our sleeves. One way to try and resolve the problem is to run Microsoft’s Windows Update Troubleshooters. This tool scans your computer and tries to identify what might be causing the problem.
Here are the steps to use it:
1. 2. Select “Windows Update” under “Troubleshooting Options”.
3. Click Next.
4. In the next window, select “Check for solutions”, and then click Next again.
5. Wait while the program runs. When it finishes, look for a list of problems.
Method 7: Uncheck Proxy
I am trying to use Method 7, but it doesn’t seem to work. When I go into “Network Settings”, there are no proxy settings. There is a setting called “Automatically detect settings”. But even though I unchecked this box, my Internet connection still isn’t working. What else do I need to do? Thanks.
You don’t need to set up any proxies or anything like that. If your ISP is blocking traffic, you’ll just see a blank screen. You can try using a different browser such as Firefox or Chrome.
Method 8: Rename SoftwareDistribution Folder
In order to resolve this problem, you must rename the software distribution folder. This folder contains the updates that are downloaded automatically by Windows Update. If you do not know how to find it, here are some tips.
1. Scroll down to see the version number. You will notice a folder named “SoftwareDistribution”.
2. Right-click on the folder and select Properties.
3. Go to the tab labeled Location.
4. Find out where the folder is located and make sure it matches what you want. For example, I am assuming that you want to move it somewhere else. So, go ahead and type the location into the box.
5. Click OK.
Method 9: Change the way Windows Update works.
This method works well for most problems. If it doesn’t work, try Method 10.
1. Type regedit into the box and press Enter
2. In Registry Editor, locate HKEY_LOCAL_MACHINE\SOFTWARE\Microsoft\Windows\CurrentVersion\WindowsUpdate
3. Right-click WindowsUpdate and select Delete
4. Restart your PC
5. Check again for updates.
RECOMMENATION: Click here for help with Windows errors.
Frequently Asked Questions
Why does Windows 11 get the error 8024402f when it tries to update the security definitions?
This article explains what causes the Windows Security definition upgrade failure error code 8024402F on Windows 10/8/7/Vista/XP computers.
The Windows Security definition upgrade process is triggered automatically whenever you install a security patch or hotfix. However, some problems might occur during the process. In such cases, you are asked to either restart or skip the update. If you choose to skip the update, you will receive the following error code: 0x8024402F. To resolve this problem, follow the steps given below.
1. Restart your PC.
2. Press the F8 key repeatedly while booting up your system.
3. Select Safe Mode.
4. Click Yes to confirm the changes.
5. Reboot your PC normally.
How to Fix Windows 11 Error 8024402f on Windows Security Definition Update
Windows Security Definition Update Error 80 24 402 F occurs due to some issues while installing Windows Updates. In such cases, it becomes necessary to perform a clean install of Windows OS. However, there could be situations where you might face some problems while performing a clean install. So, here we have listed out few steps that can help you fix the issue.