- Download and install the software.
- It will scan your computer for problems.
- The tool will then fix the issues that were found.
In Windows 10, when you right-click on a folder, an .exe file, or a shortcut to a .exe file, the Attach to run option may not be present. Also, in the Start menu, when you right-click on an item, the Attach to Start or Delete from Start options are available. Here are two possible reasons why this happens, and then a correction.
If both policy options, NoChangeStartMenu and LockedStartLayout, are set (using Group Policy or Registry based), the right-click drop-down menu item is removed to start. If your system is joined to a domain, your network administrator may have set these policies and you may need to contact him to relax the settings. Otherwise, registry-based settings may have been enabled by a third-party tool.
Check your antivirus program

According to users, if they can’t fix the tiles in the “Start” menu, the problem may be in your antivirus. Sometimes it can interfere with Windows 10 and interfere with some features.
However, you can easily solve this problem by checking your antivirus settings and disabling the problem option. If you can’t find the option responsible for this error, you may need to completely disable the antivirus to solve the problem.
In some cases you may even need to remove the antivirus. Users have reported problems with Kaspersky Anti-Virus, but simply removing it may solve the problem.
If you are using Kaspersky Anti-Virus and want to completely uninstall it from your computer, check out this amazing list of the best removal programs you can use right now.
Making changes in the registry editor
This method changes the registry entries. Therefore it is highly recommended to create a system recovery point before proceeding to the next steps to be safe. You can find step by step instructions on how to do this in our article on creating a recovery point in Windows 10.
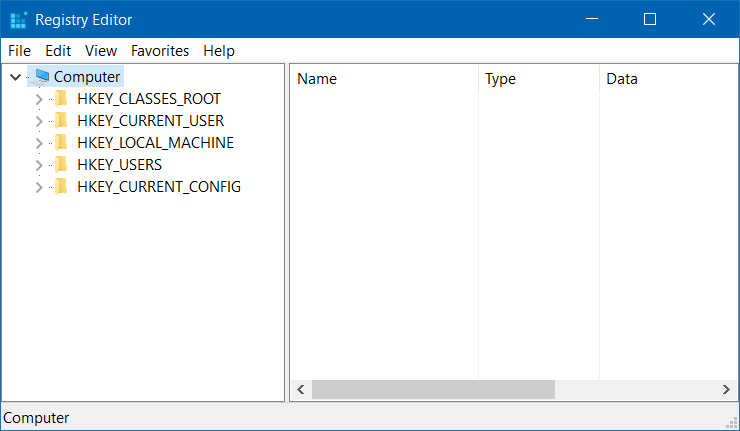
- At the same time, press the WIN + R keys to open the Run dialog box. When it opens, type regedit and press Enter.
- The Registry Editor window will open. Then you need to go to the next path:
- HKEY_LOCAL_MACHINE \ SOFTWARE \ Microsoft \ Windows \ CurrentVersion \ Policies \ Explorer
- When you are on the specified path, make sure that the path is correct, as shown below. Highlight the Explorer button by clicking it once. Now find the DWORD value named NoChangeStartMenu in the right pane. If you can’t find it, you can skip to Step 3 and proceed to Step 4. Otherwise, if you have a DWORD named NoChangeStartMenu, you need to either delete it or change its value data. To delete a DWORD, right-click on it and select “Delete”.
- If you prefer to change these values, double-click NoChangeStartMenu. Enter 0 as a value in the “Value” field. Click OK.
- Then follow the path below:
- HKEY_LOCAL_MACHINE \ SOFTWARE \ Microsoft Policies \ Windows \ Explorer
- Make sure the path is the right one. Select the Explorer button by clicking on it. On the right pane of the Explorer button find a DWORD named LockedStartLayout. If there is no DWORD, there is nothing you can do. If DWORD LockedStartLayout exists, you need to either delete it or change its values as before. To delete it, right-click on DWORD LockedStartLayout and select “Delete”. If you prefer to edit these values rather than delete them, double-click DWORD LockedStartLayout and enter 0 for the value in the “Value” field.
- This is it. Reboot the system for the changes to take effect. Check if the “LockedStartLayout” menu is working / available and right-click on the context menu options.
Updated: July 2025
We highly recommend that you use this tool for your error. Furthermore, this tool detects and removes common computer errors, protects you from loss of files, malware, and hardware failures, and optimizes your device for maximum performance. This software will help you fix your PC problems and prevent others from happening again:
- Step 1 : Install PC Repair & Optimizer Tool (Windows 11, 10, 8, 7, XP, Vista).
- Step 2 : Click Start Scan to find out what issues are causing PC problems.
- Step 3 : Click on Repair All to correct all issues.

Register the shell32.dll file again
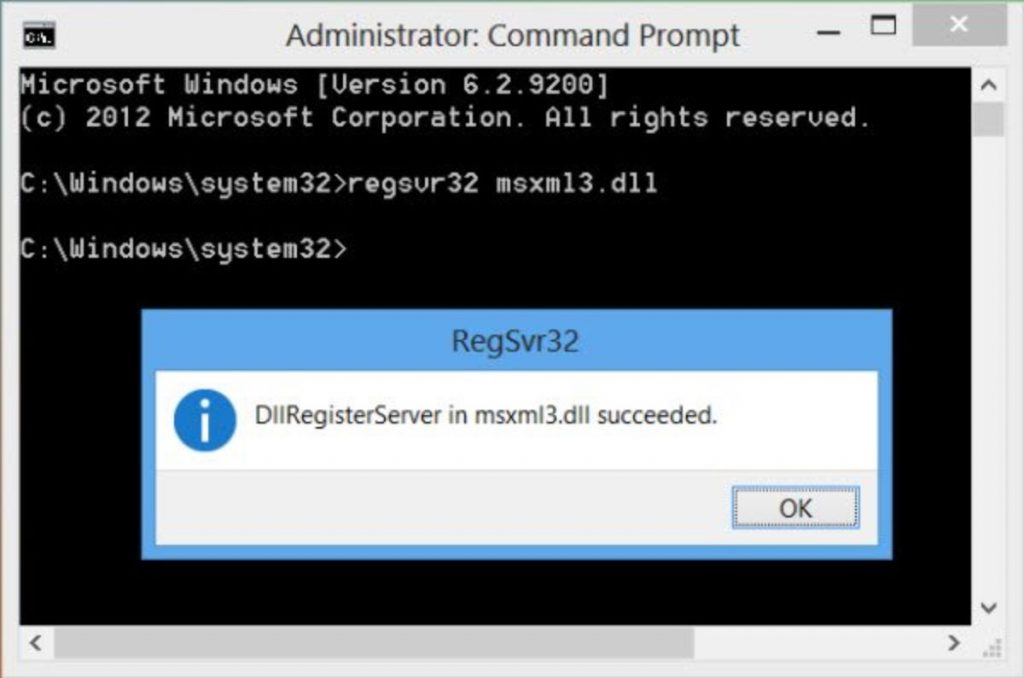
To re-register the shell32.dll file, follow these steps:
- Click Windows Key + R to open the Run dialog box.
- In the Run dialog box, type cmd and press CTRL + SHIFT + ENTER to open the command line in administrator mode.
- In the Command Prompt window, type the following command and press Enter.
- regsvr32 / i shell32.dll
- Reboot the computer.
At startup, check if the startup menu problem does not work when you start up in Windows 10 or if it does not show up in gray.
Use the Windows 10 Default Theme
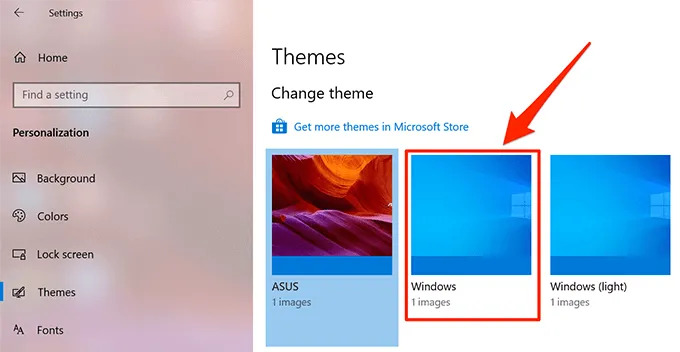
One of the quickest ways to fix and change this option is to enable the default theme pre-installed on your Windows computer. Once you do this, you will find that the option is no longer grayed out and you can change its settings.
- Place your cursor in the Cortana search box, enter your settings, and then click the Settings application when you see it in the search results.
- On the next screen, you need to find and click on the “Customize” option. The option you are looking for is there.
- When the menu opens, look at the left sidebar, find the Themes option, and click on it. This allows you to apply the new theme to your PC.
- You will see different themes that you can use on your computer. You want to find a window and click on it. The topic will be immediately applied to your PC.
- Now, if you go to a screen where this option was previously unavailable, you will find that it is no longer gray and you can really work with it.
Although this method does its job with just a few clicks of the mouse, there is actually a limitation. As you can see from the above steps, you need to apply the standard Windows theme to your computer.
RECOMMENATION: Click here for help with Windows errors.