- Download and install the software.
- It will scan your computer for problems.
- The tool will then fix the issues that were found.
Windows 10 is one of the most secure operating systems out there. However, it still gets infected by malware every now and then. And if you are experiencing problems updating your system, you might end up getting the dreaded “The Windows Update Service failed to start” error code. But fear not, we’ll show you how to fix this annoying error code in Windows 10.
To begin with, let’s take a look at what exactly happens when you experience this error code. If you’re running Windows 7 or 8, you might see a pop-up window asking you whether you want to restart your computer or wait for the update to finish. In case you choose to wait, you might receive a notification about the progress of the update later on.
However, if you’re running Windows 10, you won’t see anything like that. Instead, you’ll simply get the aforementioned error code displayed on screen. So, here’s what you need to do to fix this error code in Windows 10:
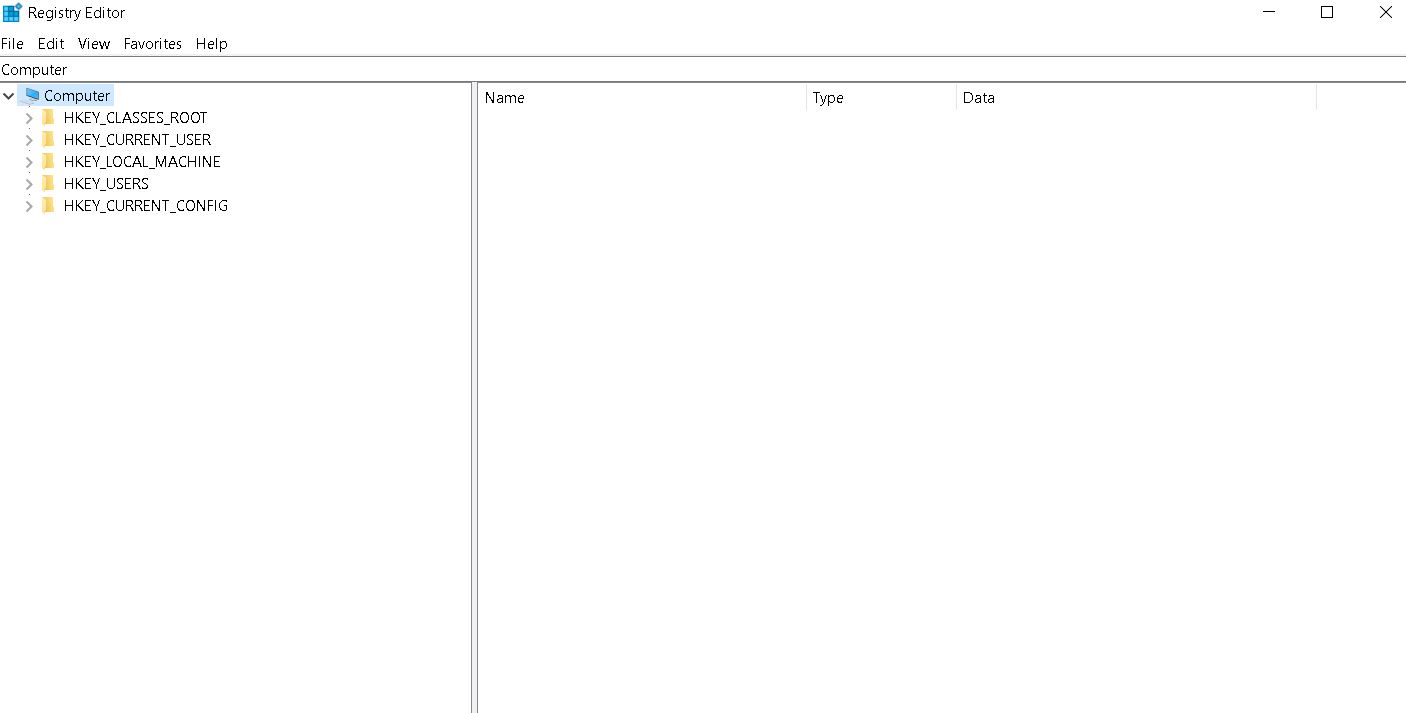
1. Open the Start menu and type’regedit’ into the search box. Click on the ‘Regedit’ icon that appears on the left side of the search bar.
2. Navigate to HKEY_LOCAL_MACHINE\SOFTWARE\Microsoft\Windows NT\CurrentVersion\Winlogon. You can find the WinLogon folder under the following path:
HKEY_LOCAL_ MACHINE \ SOFTWARE \ Microsoft \ Windows NT \ CurrentVersion \ Winlogon
3. Name the value ‘DisableAutoReboot’. Double-click on the newly added DWORD value to set its value to 1.
What Is Error 0x80240fff?
Error 0x80240fff is one of the most common errors that people encounter while installing software. While it doesn’t always mean something is wrong with your computer, it does make troubleshooting difficult. Here’s what you need to know about this error code.
1. Restart Your PC
Reboot your computer if you’re having trouble connecting to the internet. If your internet connection isn’t working properly, make sure your router and modem are turned off and unplugged. Then plug everything back into place and turn both devices back on.
If your internet still won’t connect, try restarting your modem/router again. You can do this manually by pressing the reset button on the device itself. Or, if you don’t know how to do this, just call your ISP and ask them to help you. They’ll probably want you to disconnect power to the device and wait about 30 seconds before reconnecting.
2. Update Your Drivers
Check your motherboard manufacturer’s website to see if there’s a driver update available for your motherboard. This could fix some issues with connectivity. If you’re unsure where to find this information, check out our guide to finding drivers online.
3. Reset Network Settings
Resetting your network settings might solve some connectivity issues. Click “Reset” to complete the process.
4. Turn Off Firewall
2. Defer Windows Updates
Microsoft announced that the next version of Windows 10 will include some security patches that are set to release on April 11th. However, the company says that if you want to install those updates, you’ll need to wait until May 8th. Why? Because Microsoft wants to make sure that the fixes don’t break anything else. If you try to install them now, you might run into issues.
The reason why is because there are three different kinds of updates that come out every month. There are monthly cumulative updates, feature updates, and servicing releases. All of these types of updates require individual testing. So, Microsoft needs to ensure that everything works properly before releasing them.
If you’re impatient like me, you might want to defer the update. Then, select “Defer upgrades.” This way, you won’t be forced to install the updates on May 8th. Instead, you’ll just have to install them on June 12th.
Updated: July 2025
We highly recommend that you use this tool for your error. Furthermore, this tool detects and removes common computer errors, protects you from loss of files, malware, and hardware failures, and optimizes your device for maximum performance. This software will help you fix your PC problems and prevent others from happening again:
- Step 1 : Install PC Repair & Optimizer Tool (Windows 11, 10, 8, 7, XP, Vista).
- Step 2 : Click Start Scan to find out what issues are causing PC problems.
- Step 3 : Click on Repair All to correct all issues.

3. Use the Windows Update Troubleshooter.
If you are having trouble installing security patches, run the Windows Update Troubleshooting tool. This troubleshooting tool will help identify what might be causing problems during the installation process. You can download it here.
4. Turn off VPN connections and antivirus programs.
If you are experiencing problems downloading Windows 10 updates, it might help to turn off your VPN connections and antivirus apps.
Windows Update cannot connect to Microsoft servers because some third-party programs are blocking the connection. If you are seeing error messages like “The update server is unavailable,” “This computer isn’t configured correctly,” or “Unable to download updates”, try disabling any VPN connections or antivirus apps.
5. Restart Windows Update Services
There are many different ways to solve this problem. Here are some common causes and solutions:
* A Virus or Malware Infection
If you’ve recently installed a program or had a computer crash, it could cause problems with Windows Updates. You can try restarting your PC to see if that fixes the issue.
* An Incorrectly Configured Firewall
Your firewall settings might be preventing Windows Updates from working properly. Make sure that “Use default gateway on remote network connections” is checked.
* Problems With Antivirus Software
Windows Update relies on antivirus software to scan files downloaded from Microsoft servers. If your antivirus software isn’t running correctly, it could prevent Windows Updates from downloading security patches. Try updating your antivirus software.
6. Run the (SFC) System File Checker
The SFC tool scans your computer for corrupt system files and missing drivers. If it finds anything, it prompts you to fix the problem. You’ll see a list of items that are flagged as needing repair. Click Fix All to make sure everything is running smoothly.
If you don’t want to use the SFC tool, you can manually check for errors yourself. Just open up the Start menu and type “cmd.” Then press Enter. In the Command Prompt window, type “sfc/scannow,” without the quotes. Press Enter again.
You might notice some errors pop up while scanning. Don’t worry – most of those issues are minor and won’t cause any major problems. However, there are times when a file needs to be repaired immediately. When that happens, you’ll receive a warning about the issue. Simply close out the scan and reboot your PC.
7. Install the latest Windows version manually
Microsoft announced the release of the October 2018 Patch Tuesday security updates on Oct. 17. These patches are cumulative, meaning you’ll receive all the fixes included in previous months’ updates. As usual, there are three types of fixes: critical, important, and optional. Critical fixes are required to address serious vulnerabilities. Important fixes are recommended to protect against common attacks. Optional fixes improve performance and reliability.
The most recent Windows 10 build is 1809, which includes some improvements over the previous build. You can download it here. If you don’t want to wait for the automatic installation, you can manually upgrade to the latest version of Windows 10.
If you’re running Windows 7 or 8.1, you can use the Media Creation Tool to do so. This tool is located under “Windows Features.” To start the process, open up the Start menu and type “Media creation tool,” select the program, and follow the instructions. Alternatively, you can just download the ISO file and burn it onto a DVD or USB flash drive.
RECOMMENATION: Click here for help with Windows errors.
Frequently Asked Questions
What are some common errors I might see while installing Windows 10?
Error codes like 0x80240020, 0x0000007A, 0x80240000, 0x80240102, and 0x00000070 indicate that there’s been a serious problem during the installation process. These issues include missing files, corrupted system files, and invalid registry entries.
Why Do You Get the Error Code 0x80240fff for Windows Update?
Windows 10 includes many features like Microsoft Edge browser, Cortana digital assistant, OneDrive cloud storage, etc. However, it also includes some bugs and errors which may occur while you use the operating system. If you face such problems, try fixing them immediately. In case, you don’t know how to fix the issue, here we provide you the complete guide to fix Windows update error code 0x80240fff.
Fix Windows Update Error Code 0xf0d00e01
1. Restart Your Computer
2. Press Ctrl+Alt+Del keys together to open Task Manager.
3. Click Processes tab.
How to Fix Error 0x80240fff in Windows 10 Update?
This error usually appears after installing a program or updating the operating system. If you see it, try one of the following solutions.
If you’re running Windows 10 Home, go here to download the latest version of Windows. You’ll find it under “Windows Updates.”
If you’re running a Pro edition of Windows 10, head over to this link to download the latest version.
Microsoft will eventually stop supporting Windows 8.1 and Windows 7. To make sure you don’t run into problems down the road, we recommend upgrading now.