- Download and install the software.
- It will scan your computer for problems.
- The tool will then fix the issues that were found.
How to Fix Error 0x80070002?
Error code 80070002 is one of those annoying error codes that you don’t want to see. This error occurs when Windows cannot find the required file. To fix it, follow these instructions:
1. 2. In the left pane, double-click “System”.
3. Find the following registry key under HKEY_LOCAL_MACHINE\SYSTEM\CurrentControlSet\Services\LanmanServer\Parameters :
HARDWARE\DESCRIPTION\SystemType 2
4. Right-click the value named SYSTEMTYPE and select New DWORD Value. Name the new value REG_DWORD and set its data type to 32-bit integer. Set the value to 3.
5. Double-click the newly added entry and change the value to 4.
6. Restart the computer.
Why does the 0x80070002 error happen?
This error occurs when the file is missing or damaged. You can use one of the following methods to resolve it:
1. Manually repair the file.
2. Download the latest version of the software.
3. Reinstall Windows completely.
4. Restart the computer.
5. Check the system registry to see whether there is an entry related to the program you installed. If so, delete it.
6. Try running the program again.
If the above solutions do not work, contact the manufacturer of the device for help.
Method 1: Check the settings for the Date and Time.
If you are getting error code 80070002 while installing Microsoft Office 365 ProPlus 2016, it is because the system clock is set incorrectly. You can fix this issue by checking the date and time settings.
To do this, follow these steps:
1. Open the command prompt window.
2. Type “date /t”, press Enter key, and wait for the output.
3. Copy the value displayed in the Output box and paste into Notepad. Save the file as “DateTime.txt”.
4. Close the command prompt window.
5. Select Change System Locale. Click OK.
Updated: July 2025
We highly recommend that you use this tool for your error. Furthermore, this tool detects and removes common computer errors, protects you from loss of files, malware, and hardware failures, and optimizes your device for maximum performance. This software will help you fix your PC problems and prevent others from happening again:
- Step 1 : Install PC Repair & Optimizer Tool (Windows 11, 10, 8, 7, XP, Vista).
- Step 2 : Click Start Scan to find out what issues are causing PC problems.
- Step 3 : Click on Repair All to correct all issues.

Method 2: Change the files for installing Windows Update.
Windows Update is one of those programs that we don’t really think about. We just turn it on and go about our day. But there are some things that you might not know about it. One thing that you probably didn’t know is that Microsoft offers a way to modify the software inside of Windows Update. This method is very easy to use and doesn’t require much technical knowledge. Let’s see how to do it.
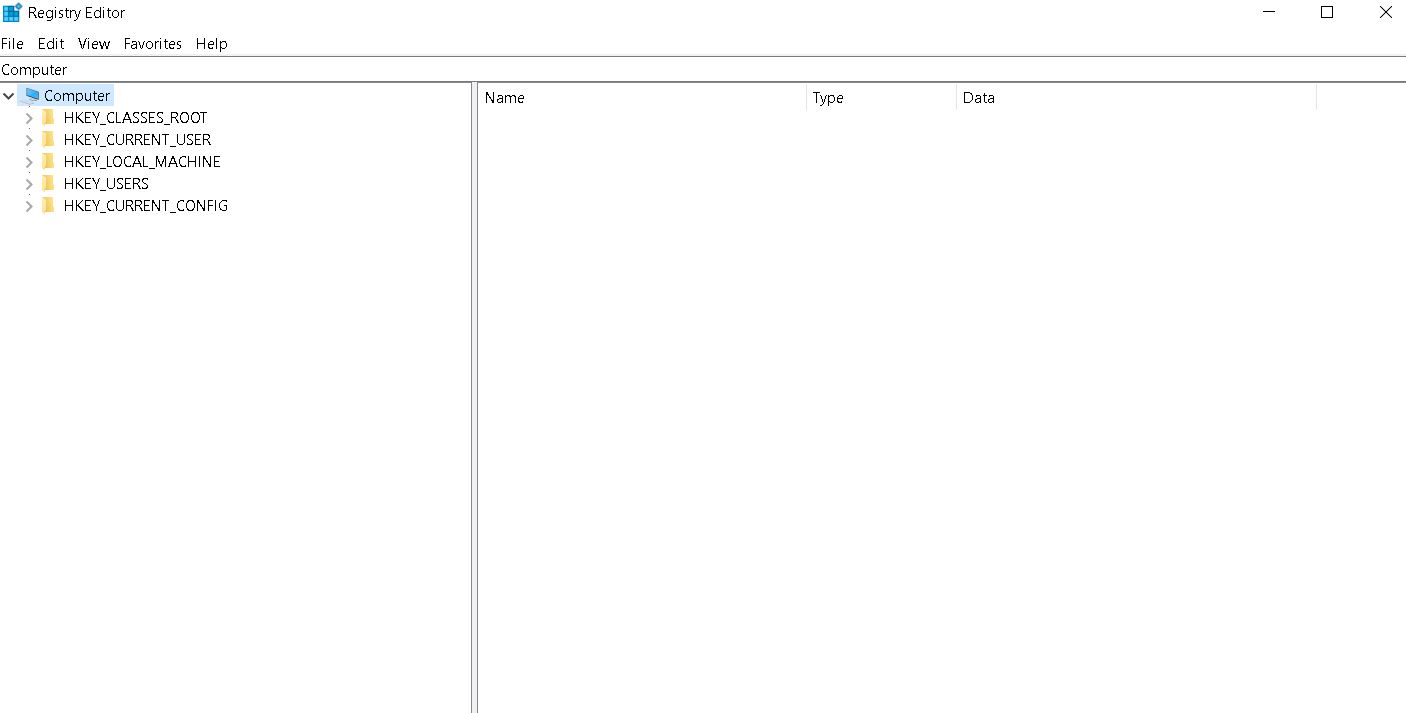
Step 1: Open up the Start menu and type “regedit”. Then press Enter.
Step 2: Click on HKEY_LOCAL_MACHINE\SOFTWARE\Microsoft\Windows\CurrentVersion\WindowsUpdate\Auto Update.
Name it DisableAutomaticUpdates. Double-click on it and set the value to 1.
Step 4: Close the registry editor.
That’s it. Now whenever you start Windows Update, it won’t automatically download and install updates. Instead, it’ll tell you that no updates are available. If you want to restore automatic updating, simply change the value to zero.
Note: Make sure that you’re running the latest version of Windows 10.
Step 1: Disable the Windows Update service
Windows 10 automatically checks for updates every day. If there are any updates available, it downloads and installs them immediately. This process happens without your knowledge or consent.
If you’re running Windows 7 or 8.1, you’ll see similar behavior. However, Microsoft doesn’t recommend disabling the auto-update functionality because it keeps your PC safe. You can also schedule when you want to install updates manually. Scroll down to select the “Windows Update” item and uncheck the box next to the “Turn on automatic updating.” Then click OK.
Step 2: Delete the Software Distribution Folder
This step will help you remove any leftover files from the previous installation. If you’re running Windows 7, 8, 10 or macOS, you’ll find the folder here: %ProgramFiles%\Microsoft Office\Office16\Installer\
If you are running Linux, you’ll find it here: /opt/microsoft/office/2016/installer/
You can delete the folder now. You don’t want to keep anything left over from the previous installation.
Step 3: Re-enable the Windows Update service
This will fix the error “Windows update cannot check for software updates”. If you are getting this error, it could mean that the Windows Update service isn’t working properly. Here’s how to resolve the issue:
STEP 1: Open the Start menu and type “services.msc”. You’ll see the Services window open up.
STEP 2: Right-click on the Windows Update Service and select Properties.
STEP 3: Select the Startup Type tab and set the value to Automatic.
STEP 4: Close the properties dialog box and restart your computer. After rebooting, try checking for updates again.
If you still receive the same error, please follow this guide to re-install the Windows Update service.
Method 3: Try Windows Update Troubleshooter
If you are having trouble installing or updating software on your computer, it could be due to one of several reasons. One common reason is that you do not have enough disk space left on your hard drive. Another possible cause is that you might have encountered a problem during installation. If you are experiencing problems while trying to download or install software, there could be many causes. You can use this guide to help resolve common issues such as “Windows cannot check for updates.”
The following steps will walk you through the process of using Microsoft’s free Windows Update Troubleshoot Tool to diagnose and fix most common errors.
Step 2: Type wuauclt /detectnow
Step 3: Press Enter
Step 4: Wait for the command prompt window to open up again
Step 5: Type exit
Method 4: Modify Registry Editor
If you are getting error code 80070002 while installing Windows 10, there could be many reasons behind it. In some cases, the issue might occur due to corruption in the registry file. If you want to resolve this error, follow the steps mentioned below.
Step 1: Open the registry editor by typing regedit into the Start Search bar. Click OK.
Step 2: Navigate to HKEY_LOCAL_MACHINE\SOFTWARE\Microsoft\Windows NT\CurrentVersion\Setup\SystemData.
Enter AllowOSUpgrade as the name and set the value data type to REG_DWORD. Set the value data to 1.
Step 4: Close the registry editor. Restart the computer and try again.
This method works best for those who don’t know how to open the registry editor. However, if you do know how to open the same, please refer to Method 3.
RECOMMENATION: Click here for help with Windows errors.
Frequently Asked Questions
Does Microsoft test the security of its software before putting out free updates?
Yes! Every day, they check their software for security holes. If they find any, the problems are fixed right away.
If I don’t update my OS, will security bugs affect me?
Yes! It’s very important that you keep your operating system (OS) up to date. You should also keep track of security updates from Microsoft and Apple. The majority of software used today is made by these two companies.