- Download and install the software.
- It will scan your computer for problems.
- The tool will then fix the issues that were found.
While the Windows operating system is complex, there are many unresolved issues that can drive inexperienced users crazy. This is just one reason why more and more PC users are switching to Mac OS X, which may not have the same settings and compatibility as Windows, but definitely more.
Windows has several built-in troubleshooting programs that you can use to automatically solve problems. However, sometimes they are not enough to solve your problem. See below what to do if your computer is not recovering itself.
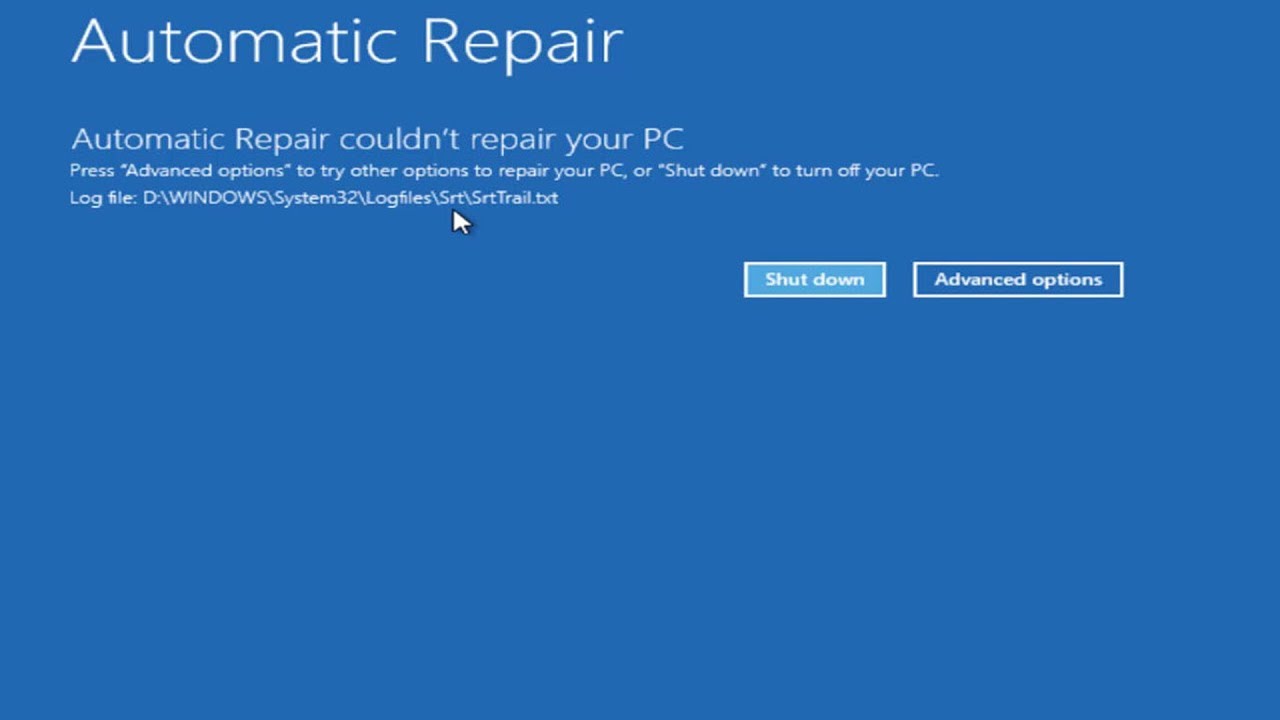
Automatic recovery is a built-in troubleshooting tool that can help you solve some of the most common problems with your computer. However, many users report that after it runs, they receive the message “Auto Restore cannot fix your computer” to solve some of their problems.
This is a bit unfortunate, especially because most Windows users have no other way to fix such problems and they try to rely on automatic fixes like this. Fortunately, this problem has a solution. Please see below for more information.
Restore the MBR and recreate the BCD
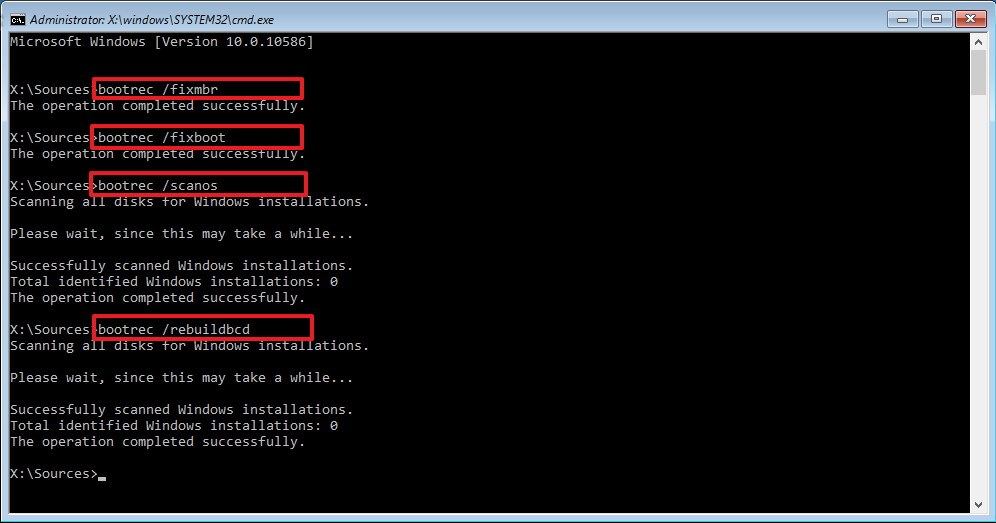
You will need to go to the command line and then recreate the boot configuration data. Then restore the master boot record and fix the problems with the boot sector. Here are the commands you will need to enter on the command line. You must enter them one by one.
- bootrec.exe / rebuildbcd
- bootrec.exe / fixmbr
- bootrec.exe / fixboot
Reboot the computer to see if the problem has been solved. If not, proceed to the next step.
Run the chkdsk
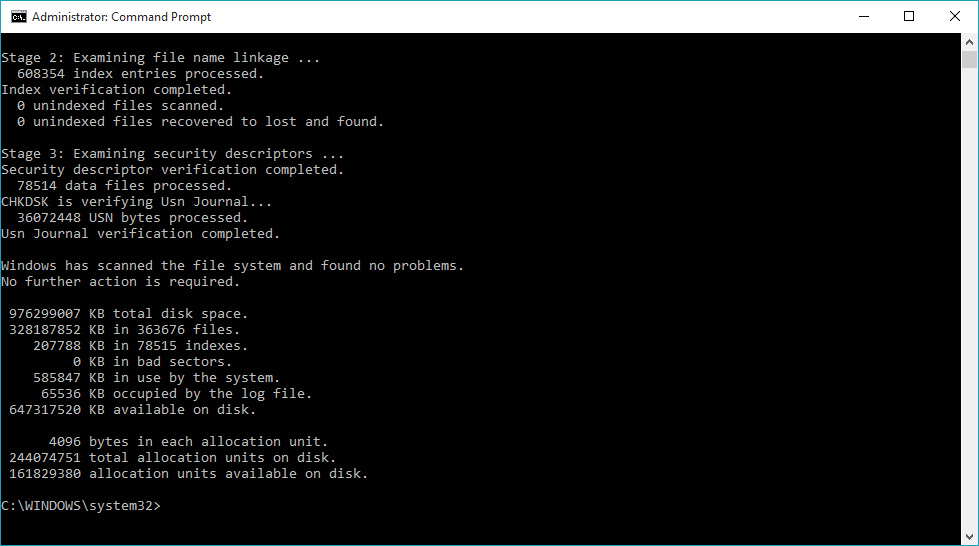
Perform the following command to access the command line again: chkdsk / r c:
This utility scans for damaged sectors and tries to repair them. The process takes some time. Then exit the command line, reboot your computer and see if the problem is solved. Otherwise, there will be more.
Updated: July 2025
We highly recommend that you use this tool for your error. Furthermore, this tool detects and removes common computer errors, protects you from loss of files, malware, and hardware failures, and optimizes your device for maximum performance. This software will help you fix your PC problems and prevent others from happening again:
- Step 1 : Install PC Repair & Optimizer Tool (Windows 11, 10, 8, 7, XP, Vista).
- Step 2 : Click Start Scan to find out what issues are causing PC problems.
- Step 3 : Click on Repair All to correct all issues.

Boot in safe mode and run the command line
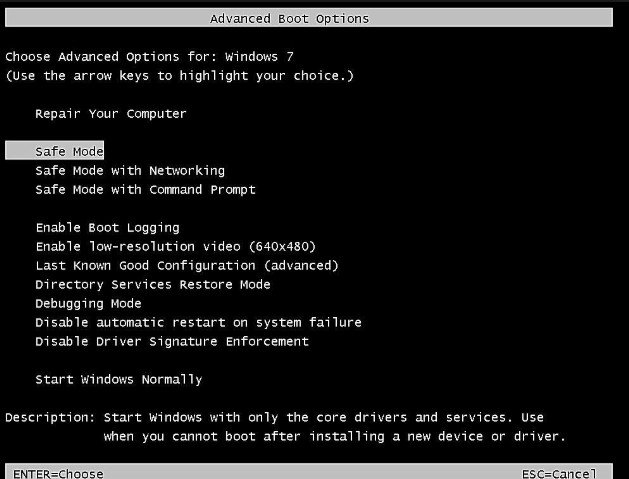
- After your computer has been rebooted several times, you need to start the boot options menu. Select Troubleshooting> Advanced Options> Launch Options.
- Click the “Restart” button. Your computer should reboot and display the list of parameters. Select Enable secure mode with network drivers booting.
- If you start the Safe Mode, you will need to download the updated driver version, which causes you problems. You can download the driver from the manufacturer’s website and save it to your USB stick.
- Press the Windows + X keys and select Command Line (Administrator) from the list.
- When the command line starts, type the following and press Enter to start it:
- DISM / Online / Clean-Up / RestoreHealth
- Reboot the computer when the process is complete.
- After you start Windows 10, install the loaded driver and the problem should be solved.
Restore the Registry
- The programs we modify change the registry entries. It can interfere with normal computer operation. So try to restore the registry to its original state by running the following command at the command line:
- Copy c: \ windows \ system32 \ config \ RegBack * c: \ windows \ system32 \ config
- Type “All” when asked which items you want to overwrite and press Enter.
- Reboot the computer.
Disable automatic recovery at startup
If you have a problem with your system disk, the automatic recovery window will automatically open during the startup process. If you think you are in such a situation, you can disable automatic recovery at startup. You need to click on Troubleshooting> Advanced Options> Command Line and execute the following command:
bcdedit / set recoveryenabled NO
Reset this computer
This version of Windows 10 helps users get factory settings without removing personal files. As a last option, use the “Reset this computer” option in the Troubleshooting menu.
There are a few other things you can try and they are actually hardware related.
- Disconnect the power cord and reconnect the hard drive.
- Reconnect the RAM
- Disconnect all external devices from the network.
Disable Automatic Startup Repair
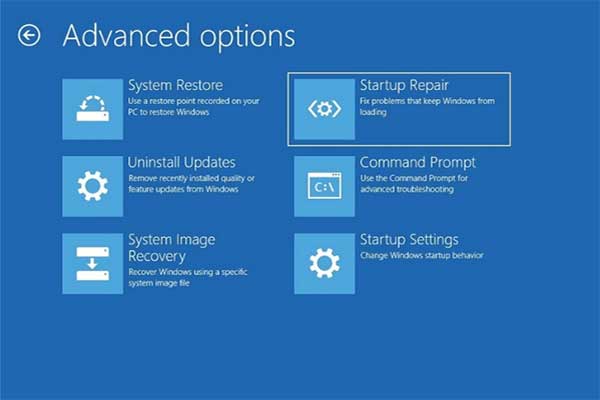
That’s what it takes:
- First click on Troubleshooting.
- Click on additional options
- Open a command line.
- Enter the following command: bcdedit / set recovered NO
- Reboot the computer and check if the computer bypasses automatic recovery.
RECOMMENATION: Click here for help with Windows errors.