- Download and install the software.
- It will scan your computer for problems.
- The tool will then fix the issues that were found.
There are a number of things that can go wrong with the Windows Update module in Windows 10. Among the many fixable errors, error 0x80244019 is one error, the cause of which depends on the number. factors. People facing this error are unable to start downloading the requested update to their computer. This can be caused by both internal and external factors on the computer. This includes third-party software or any internal components that help keep Windows Update running. Today we will help you fix this problem, regardless of the cause of the failure.
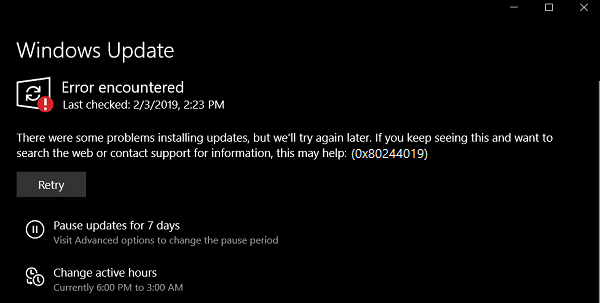
There were problems installing the updates, but we’ll try again later. If you keep seeing this and want to search the web or contact technical support, this might help: (0x80244019).
We will take a look at the following fixes to remove error code 0x80244019 for Windows updates in Windows 10.
Contents
Run Windows Update Troubleshooter
- Press Windows Key + I to open the Settings app.
- When the Settings app opens, go to the Update & Security section.
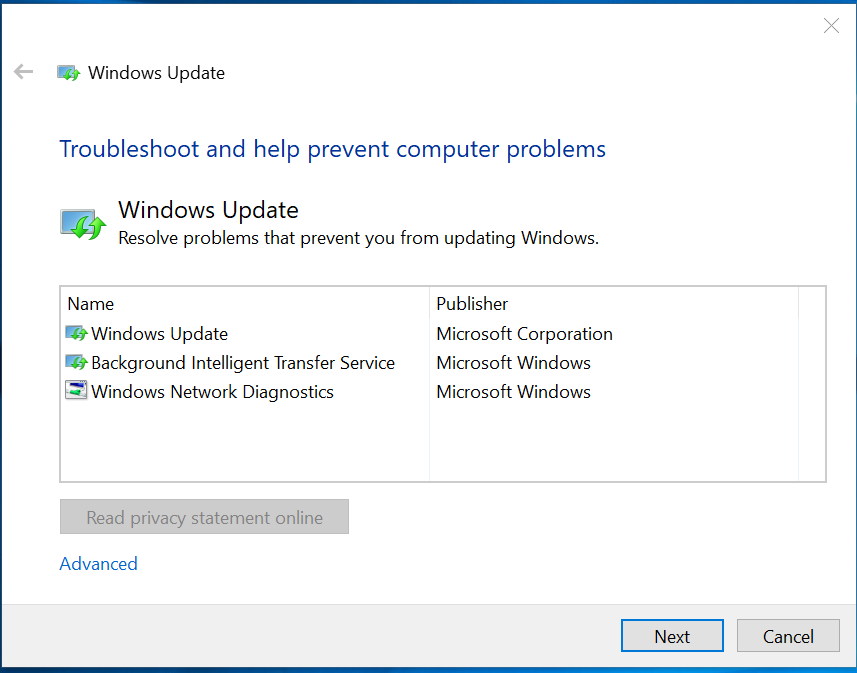
- In the left pane, select Troubleshoot. In the right pane, select Windows Update and click the Run this troubleshooter button.
- Follow the instructions on the screen for troubleshooting.
- According to users, sometimes you can fix this problem simply by running the Windows Update troubleshooter.
As you know, there are many troubleshooting programs available in Windows 10 that are specially designed to automatically fix common problems.
If you see error 0x80244019 on your computer, all you have to do is run the Windows Update troubleshooter by following the steps above.
After completing troubleshooting, check if the problem is still there.
Check your antivirus protection features
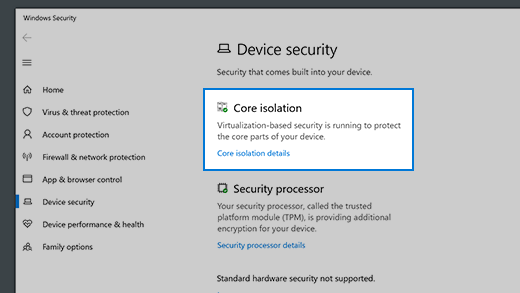
According to users, sometimes your antivirus can interfere with your system and cause a 0x80244019 error. To solve this problem, it is recommended to disable some antivirus features and see if they will solve the problem.
Updated: December 2024
We highly recommend that you use this tool for your error. Furthermore, this tool detects and removes common computer errors, protects you from loss of files, malware, and hardware failures, and optimizes your device for maximum performance. This software will help you fix your PC problems and prevent others from happening again:
- Step 1 : Install PC Repair & Optimizer Tool (Windows 11, 10, 8, 7, XP, Vista).
- Step 2 : Click Start Scan to find out what issues are causing PC problems.
- Step 3 : Click on Repair All to correct all issues.

If this does not work, the next step is to disable the antivirus completely. In the worst case, you may need to remove the antivirus and see if it solves the problem. If uninstalling the antivirus solves the problem, consider switching to other antivirus software.
There are many great antiviruses, but if you need an antivirus that provides excellent protection without putting your system at risk.
Disconnect all USB devices
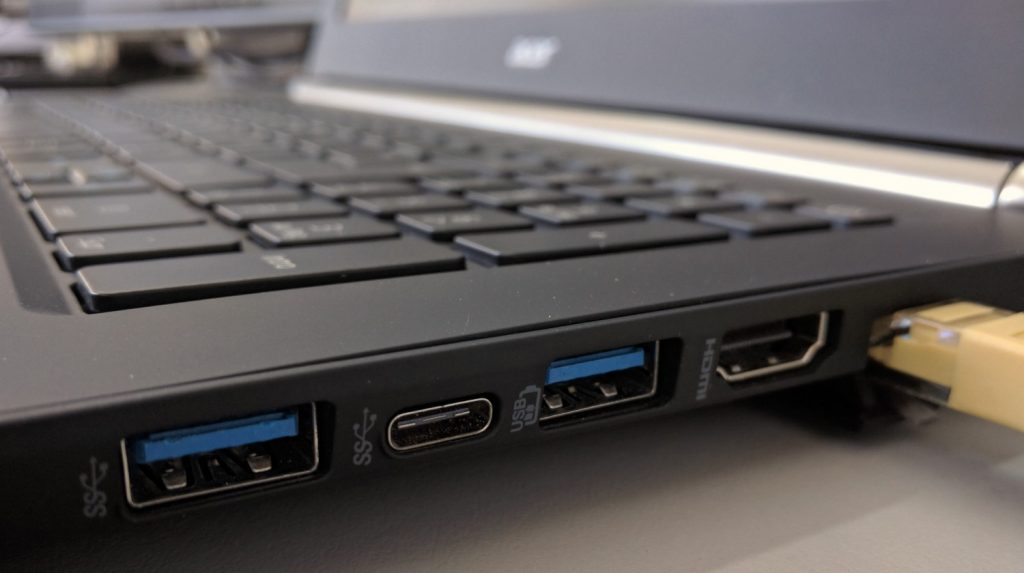
In rare cases your USB devices may cause an error of 0x80244019. If you encounter this problem, it is recommended to disconnect all USB devices from your PC. This includes external hard drives, USB drives, game controllers, printers, etc.
Usually you will need to disconnect all peripherals except your keyboard and mouse. After that, try to install the update again and see if the problem persists.
Start with a clean boot
Error 80244019 can appear due to the fact that some third-party applications interfere with your system. You can fix this problem by doing a clean restart. This way, your computer will start without any third-party services or applications. However, here are the steps to follow:
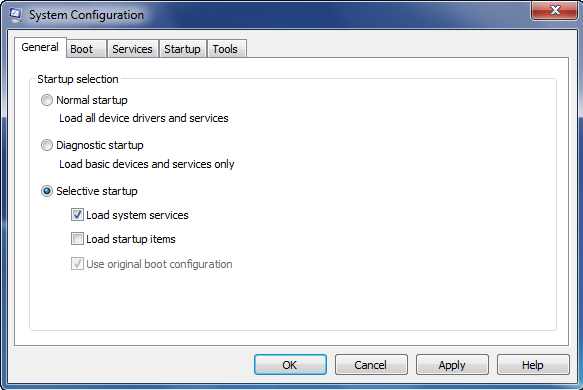
- Press Windows Key + R on your keyboard. This should open the Run dialog box.
- Type “msconfig” (without quotes) and press Enter.
- Go to the Services tab and select the Hide all Microsoft services check box.
- Click Disable All.
- Go to the “Start” tab and click “Open Task Manager”.
- Right-click each startup item and select Disable.
- Exit Task Manager and click OK to restart your computer.
After a clean reboot, try installing the update and see if the error goes away.
RECOMMENATION: Click here for help with Windows errors.