- Download and install the software.
- It will scan your computer for problems.
- The tool will then fix the issues that were found.
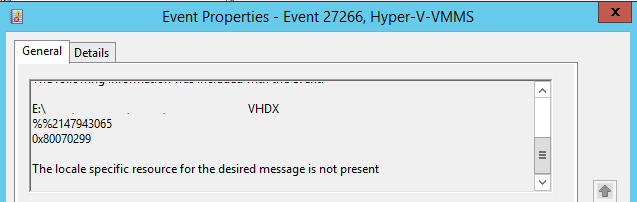
Error code 0x80070299 contains a message that resembles “The requested operation could not be completed due to a file system limitation.” This is caused by a highly fragmented file on the NTFS file system volume. The volume should not exceed a certain size, which is due to the limitation of implementation in the structures used to describe the assignments.
This error message appears when trying to copy a large file to a new location.
Cause of the Error
There are two possible reasons:
- The hard disk is highly fragmented, so when writing data to the archive, the file system limit is reached.
- The archive format uses fragmented files – fragmented files containing holes that do not take up physical space. Combined with the intrinsic fragmentation of the file system, a large backup file with many sparse files encounters a file system limitation and the backup fails.
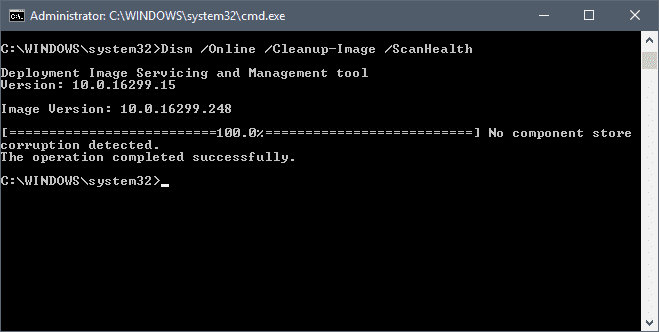
Run DISM
- Open Start, type: CMD
- Right click CMD
- Click Run as administrator.
At the command prompt, type OR copy and paste one by one: (press Enter after each).
- Unmount / Online / Clear Image / CheckHealth
- Dism / Online / Clean Image / ScanHealth
- Recover from Dism / Online / Cleanup-Image / RestoreHealth
Apply Microsoft patch
A supported hotfix is available from Microsoft. However, this hotfix is intended only to correct the problem that is described in this article. Apply this hotfix only to systems that are experiencing the problem that is described in this article. This patch can also be tested. Unless you are seriously experiencing this issue, we recommend that you wait for the next software update that contains this fix.
If the hotfix is available for download, there is a “Hotfix download available” section in the Knowledge Base at the beginning of this article. If you do not see this section, contact Microsoft Customer Support Services to obtain the hotfix.
Updated: October 2025
We highly recommend that you use this tool for your error. Furthermore, this tool detects and removes common computer errors, protects you from loss of files, malware, and hardware failures, and optimizes your device for maximum performance. This software will help you fix your PC problems and prevent others from happening again:
- Step 1 : Install PC Repair & Optimizer Tool (Windows 11, 10, 8, 7, XP, Vista).
- Step 2 : Click Start Scan to find out what issues are causing PC problems.
- Step 3 : Click on Repair All to correct all issues.

Run sfc / scannow
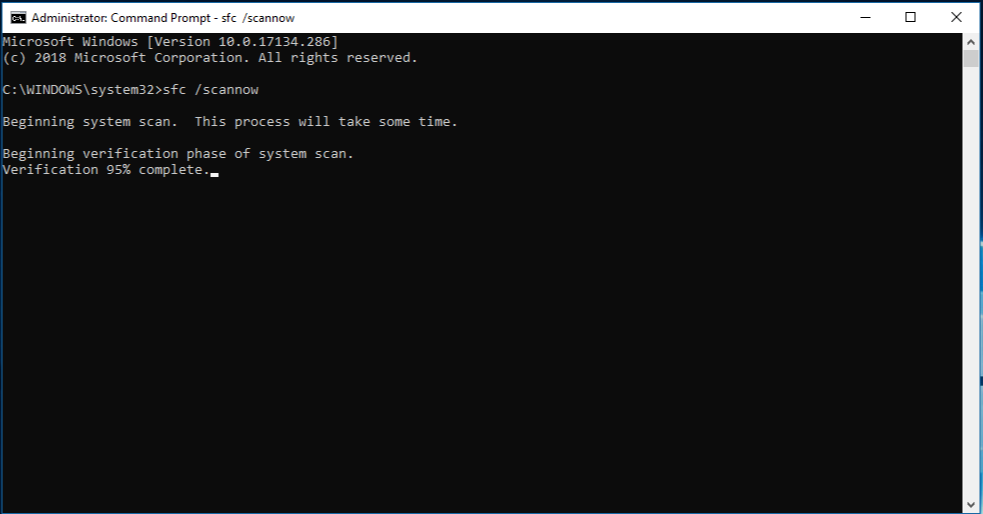
System File Checker (SFC) command is a command line used to check and replace important Windows system files.
Follow these steps to run sfc / scannow on Windows 10:
- Click the Search button on the taskbar and type cmd in the search box. Right click on “cmd” and select “Run as administrator”.
- Type DISM.exe / Online / Cleanup-image / Restorehealth and press Enter. The ordering process may take several minutes.
- Type sfc / scannow and press Enter to scan system files and replace the corrupted files with a cached copy located in a compressed folder at% WinDir% \ System32 \ dllcache.
- After the verification reaches 100%, you may receive one of the following messages:
- Windows Resource Protection has not detected any integrity violations.
- Windows Resource Protection found corrupted files and successfully repaired them.
- Windows Resource Protection found corrupted files, but could not recover them.
- Windows Resource Protection was unable to complete the requested operation.
- Type exit and press Enter to exit the prompt.
Run Windows 10 Defragmentation Utility
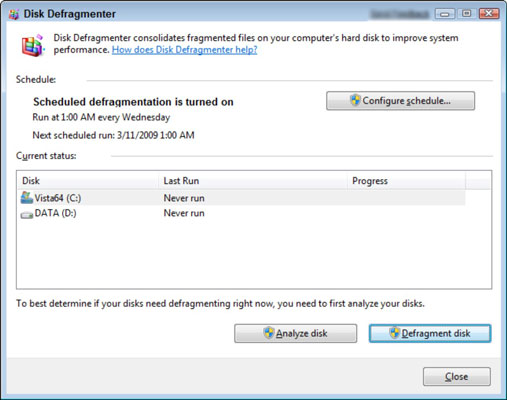
Over time, the hard drive can become less efficient due to the fragmentation of the file system. To speed up your disk, you can defragment and optimize it in Windows 10 with the built-in tool. Here’s how.
- First, press the Windows key or click the search box on the taskbar and type “defragment”. From the Start menu, click the Defragment and Optimize Drives link.
- The Optimize Drives window appears, listing all the drives on your system that can be optimized and defragmented. If any of your drives are not showing, it might be because Windows 10 can only optimize NTFS formatted drives. ExFAT discs will not appear in the list.
- Select the drive you want to defragment from the list and click “Optimize”.
- The defragmentation procedure is performed on the hard disk. The TRIM command runs on SSD drives, which can potentially speed up your drive. However, this is not strictly necessary as Windows does it in the background with modern drives.
- When the hard drive needs to be optimized and defragmented, the process begins. The “Current Status” column displays the percentage of total progress.
- When the process is complete, the time in the Last Run column will be updated and the current status will be like “OK (0% fragmented)”.
RECOMMENATION: Click here for help with Windows errors.