- Download and install the software.
- It will scan your computer for problems.
- The tool will then fix the issues that were found.
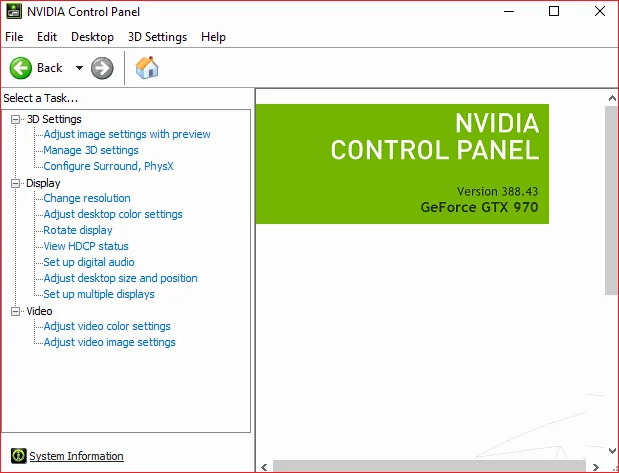
Users with a Nvidia graphics card installed on their PC still had the opportunity to change some graphics settings using the Nvidia Control Panel. However, sometimes you encounter a problem when you can’t find the Nvidia Control Panel, and this is definitely a problem.
There are several ways to restore the Control Panel. However, some of these solutions may seem tedious and complicated. In any case, you should read the rest of this article to find the solutions that should solve the problem for you.
What causes this error?
There is no direct cause for this error at the moment. However, there are several possible causes for the lack of an NVIDIA Control Panel in Windows 10. The most common reasons:
- Graphics card driver issues: It is possible that the problem is related to the graphics card driver. This could mean an outdated driver, damaged driver files, or compatibility issues. You can update your drivers. Keep reading our article to find out how!
- Windows Update Center: Have you recently upgraded or upgraded to Windows 10? If so, your graphics card driver may no longer be compatible with your system.
- Missing or incorrect registry entries: The registry is used to manage many settings on your computer. If any registry entries are missing or incorrect, the control panel may not show up on your computer. To solve this problem, you need to use the registry editor.
- NVIDIA Control Panel is corrupted: the NVIDIA Control Panel itself may have been corrupted. One way to solve this problem is to completely reinstall the Control Panel.
- Other bugs: Some common errors and Windows 10 bugs may cause the NVIDIA Control Panel to be missing.
Now that we have identified possible causes, we can begin to troubleshoot the problem. Here are five methods you can use to fix the missing NVIDIA Control Panel in Windows 10.
Restart NVIDIA Services to fix the problem that is missing from the NVIDIA Control Panel.
Sometimes the NVIDIA Control Panel may no longer appear in the context menu of the desktop and in the taskbar. Another basic method you can try is to restart NVIDIA services. Let’s see how to restart these services on your PC:
Updated: July 2025
We highly recommend that you use this tool for your error. Furthermore, this tool detects and removes common computer errors, protects you from loss of files, malware, and hardware failures, and optimizes your device for maximum performance. This software will help you fix your PC problems and prevent others from happening again:
- Step 1 : Install PC Repair & Optimizer Tool (Windows 11, 10, 8, 7, XP, Vista).
- Step 2 : Click Start Scan to find out what issues are causing PC problems.
- Step 3 : Click on Repair All to correct all issues.

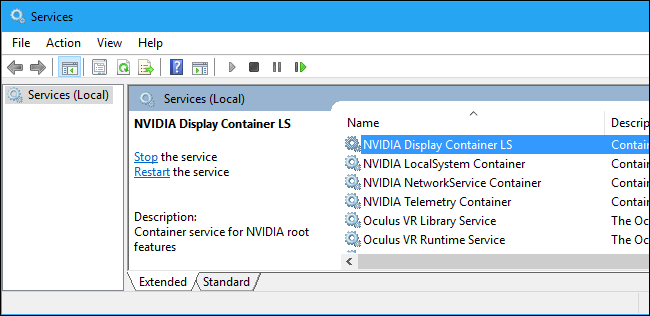
Step 1: Open the Run window by simultaneously pressing the Windows + R keys. Now type services.msc into the Run field and press Enter.
Step 2: The “Services” window will open. Here you will find all the services running on your computer. In the list of services, find the services whose names begin with NVIDIA. Select each NVIDIA service and click the “Restart” button on the left side of the window.
If the service is not running, right-click and select Start.
Unhide the NVIDIA Control Panel
Your NVIDIA Control Panel may be hidden by Windows when you update a previous version or software that accidentally changed the graphics settings. You can open the NVIDIA Control Panel from the Windows Control Panel and then display it in a context menu on your desktop. Do it:
1) Press the key with the Windows logo and R on the keyboard to open the Run dialog box.
2) In the Run dialog box, type control and press Enter on the keyboard. This will open the control panel (from Windows).
3) From the control panel, select “Large Icons” from the “View by” section.
4) Select the NVIDIA Control Panel.
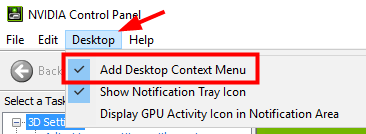
5) In the NVIDIA Control Panel, click “Screen” or “Desktop” and activate the Add Desktop pop-up menu.
6) Right-click on your desktop and see if your NVIDIA Control Panel appears again in the context menu of your desktop.
Update your graphics card driver
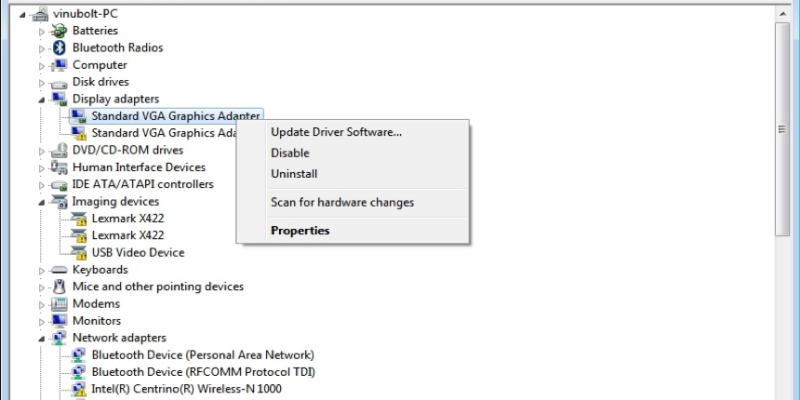
- Press the Windows + R keys, type “devmgmt.msc” (without quotes) and press Enter to open Device Manager.
- Then expand “Video Cards”, right-click the Nvidia graphics card and select “Activate”.
- When you do it again, right-click the graphics card and select “Update driver software.
- Select “Automatically look for updated drivers” and wait until the process is complete.
5.If the above step helped solve your problem, everything is fine. Otherwise, go ahead. - Select “Update Driver Software” again, but this time on the next screen select “Find Drivers on My Computer”.
- Now select “Allow selection from device driver list on my computer”.
- Finally, select the latest version of the driver from the list and click Next.
- Wait until the process described above is complete and reboot your computer to save the changes.
Once the graphics drivers are updated, you may be able to fix the missing NVIDIA Control Panel in Windows 10.
RECOMMENATION: Click here for help with Windows errors.